Among the Preferred Pest Control Companies in Clearwater, FL and Surrounding Areas
Request Call Back
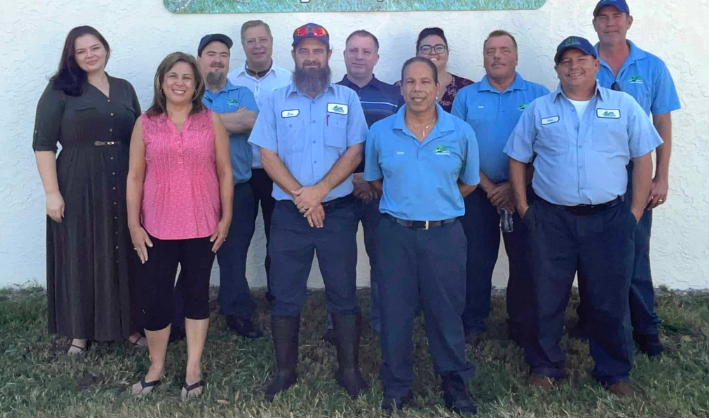
Expert Pest Control Services Since 1970
JD Smith Termite & Pest Control has been a trusted name in pest management since 1970, serving Pinellas, Pasco, Hernando, and Citrus counties in Florida for over half a century. As a third-generation family-owned and -operated business, we take immense pride in our legacy of offering impeccable pest control services. Fully licensed, insured, and state-certified, our team of experts is dedicated to providing reliable solutions tailored to your unique needs. We also offer a referral program and special discounts for first responders, military personnel, and teachers, ask us for details!
Additionally, we’ll make as many visits as it takes to make sure your pest problem is solved. If pests return in between treatments, our technicians will as well and at no additional charge. We guarantee it! Give us a call today for a FREE estimate on any of our services.
Why Choose JD Smith Termite & Pest Control?
Choosing JD Smith Termite & Pest Control means opting for a company that values integrity, experience, and community. With over 55 years of in-depth industry knowledge, we bring a level of expertise that is unmatched. Our fully certified and insured professionals are committed to solving your pest problems efficiently and effectively. We understand the importance of trust and reliability, which is why we offer FREE estimates and a solid guarantee that ensures your satisfaction. Additionally, we offer a referral program that rewards loyal clients. Count on the trustworthy team at J D Smith Termite & Pest Control to solve all of your pest problems.
Common Signs You May Have A Pest Infestation
Scratching inside the walls, foul odors near baseboards, or high-pitched squeaks in the attic may mean something unwanted has moved in. Rodents and other pests often make their presence known through sound and scent—don’t ignore the signs.
Droppings, Tracks, Or Gnaw Marks
Tiny pellets behind the fridge, chewed packaging in the pantry, or dirty smudge marks along walls often point to an active infestation. These are key indicators that it’s time to call in the pros.
Visible Pests Or Nests
From roaches scurrying under sinks to wasp nests under eaves, seeing pests in broad daylight usually means there are more hidden nearby. If you spot signs like this, it’s time to contact JD Smith Termite & Pest Control, one of the pest control companies Clearwater, FL recommends.
Pest Control
Our comprehensive pest control services are designed to address a wide array of pest issues, from common household insects to more challenging infestations. Utilizing state-of-the-art techniques and environmentally responsible products, we ensure your property remains pest-free.
Our team conducts thorough inspections to identify problem areas and implements customized treatment plans that effectively target all pests.
Termite Control
Termites can cause significant structural damage if left unchecked. Our termite control solutions are tailored to protect your property from these destructive pests. We use advanced detection methods and proven treatments to eliminate termite colonies and prevent future infestations.
Our team provides detailed reports and recommendations, ensuring you have all the information needed to safeguard your home or business from these insects.
Rodent Control
Rodents pose serious health risks and can cause extensive damage to your property. Our rodent control services focus on both removal and prevention. We employ humane trapping methods, exclusion techniques, and ongoing monitoring to keep your property rodent-free.
Our pest experts also provide advice on how to make your home less attractive to mice and rats, giving you long-term peace of mind.
Lawn Treatments
A healthy lawn is an essential component of pest management. Our lawn treatment programs are designed to promote lush, pest-resistant turf. We offer a range of services, including fertilization, weed, fungus, and disease control, and pest treatments, to enhance the health and appearance of your lawn.
Our customized plans are tailored to address the specific needs of your landscape, ensuring optimal results.
Pest Library
Our pest library is a valuable resource for homeowners and businesses alike. It offers detailed information on a variety of pests, including their habits, habitats, and the risks they pose. This comprehensive guide helps you identify potential issues and understand the best strategies for prevention and treatment.
By educating our customers, we empower them to make informed decisions about their pest control needs.
FAQs
Do you have a question about J D Smith Termite & Pest Control and our pest control solutions? Be sure to read over our frequently asked questions and you might find the answers you're looking for.
If you need more information, don't hesitate to give us a call and our friendly staff will be happy to help you out. We've served customers in Pinellas, Pasco, Hernando and Citrus counties here in Florida since 1970.
How To Prevent Pests
Seal Cracks And Entry Points
Pests look for the path of least resistance. Gaps around doors, cracked vents, and foundation holes give them a free pass inside. Seal these access points and stop the invasion before it starts.
Eliminate Food And Water Sources
From pet bowls to dripping faucets, small things attract big problems. Secure food in airtight containers and fix leaks quickly to keep your home less appealing to unwanted visitors.
Keep Your Lawn And Garden In Check
Overgrown shrubs, leaf piles, and standing water give pests everything they need to thrive. Regular lawn treatments and yard maintenance reduce harborage and help keep bugs at bay.
Why Fast Action Matters With Termite Control
The Hidden Danger Of Structural Damage
Termites work in silence, eating away at your home from the inside out. By the time you see visible signs, you may already be facing serious damage. Don’t delay—partner with one of the pest control companies St Petersburg, FL counts on to stop termites early.
Seasonal Termite Swarms
Spring and early summer often bring termite swarms, especially after rain. These flying pests are a signal that a colony is nearby and active. Scheduling an inspection now can prevent a costly headache later.
Rodents: Small Size, Big Problems
Health Concerns Linked To Rodents
Rodents carry bacteria, contaminate food, and trigger allergies. Their droppings and urine pose serious health risks—especially for kids and pets. Let professionals from JD Smith Termite & Pest Control, one of the pest control companies Clearwater, FL prefers, help you take control before it escalates.
Chewed Wires And Fire Hazards
Mice and rats chew through everything—including electrical wires. This damage can spark fires or disable important appliances. Addressing the issue early protects your home and your family.
Free Estimates And No-Pressure Quotes
We believe in straightforward service. That’s why every customer receives a free, no-obligation estimate. No gimmicks—just honest solutions from the experts at JD Smith Termite & Pest Control, one of the first choices among pest control companies in St Petersburg, FL.
Servicing Homes And Businesses In Your Area
From Clearwater to St. Petersburg and beyond, our team covers a wide service area with tailored treatments for local pests. No matter your zip code, you’re in good hands with JD Smith Termite & Pest Control. Our commitment to quality service has made us one of the preferred pest control companies in St Petersburg, FL and the surrounding areas.
With over two decades of experience and a long list of happy customers, we’re proud to be one of the top-rated pest control companies Clearwater, FL homeowners turn to time and time again.
Request A Free Estimate Today From One of the Pest Control Companies St Petersburg, FL Recommends
Getting started is easy. Call us directly or fill out our online contact form to schedule a fast, free inspection. We’ll connect you with one of the top pest control companies Clearwater, FL has to offer. We prioritize your time with quick appointments and responsive customer service. No long waits—just effective, friendly support when you need it most.
Here's what our satisfied customers are saying...
At JD Smith Pest Control, we take pride in providing exceptional pest control solutions to our customers. We would be grateful if you could share your thoughts about our pest control specialists with others. Your feedback helps us improve and helps others make informed decisions. Please take a moment to leave a review of JD Smith Pest Control and let others know what you think.
Share On: